Intro to Graphic Design
(High School)
Saladman Concept
Saladman Concept
Saladman Concept
Saladman Concept
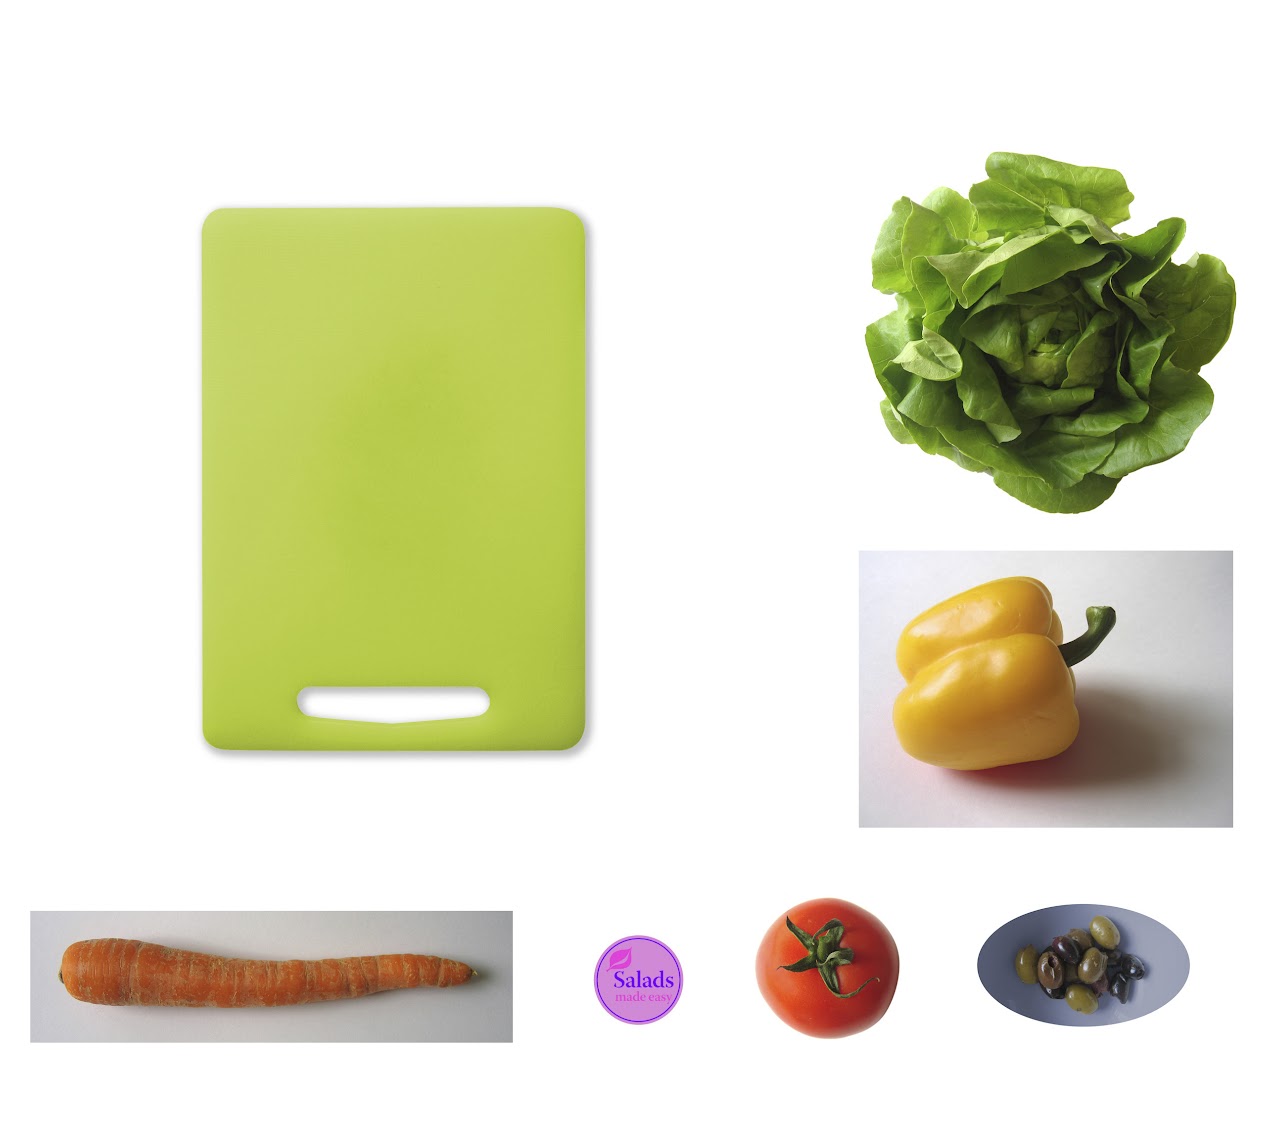
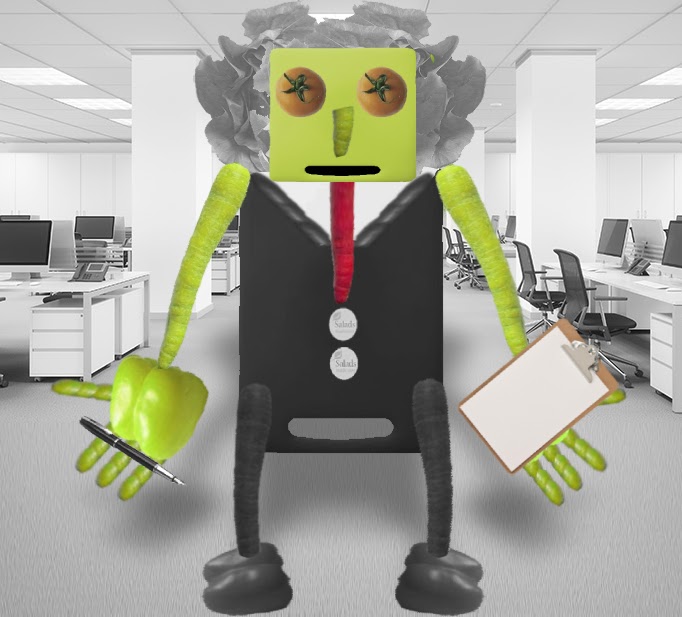
For the Saladman project, I took the starting photos, formed them into a humanoid shape, played with the hue and saturation, and ended up with Mr. Saladman, a corporate boss of a company that sells salad kits!
Heat Transfer Design
Heat Transfer Design
Heat Transfer Design
Heat Transfer Design
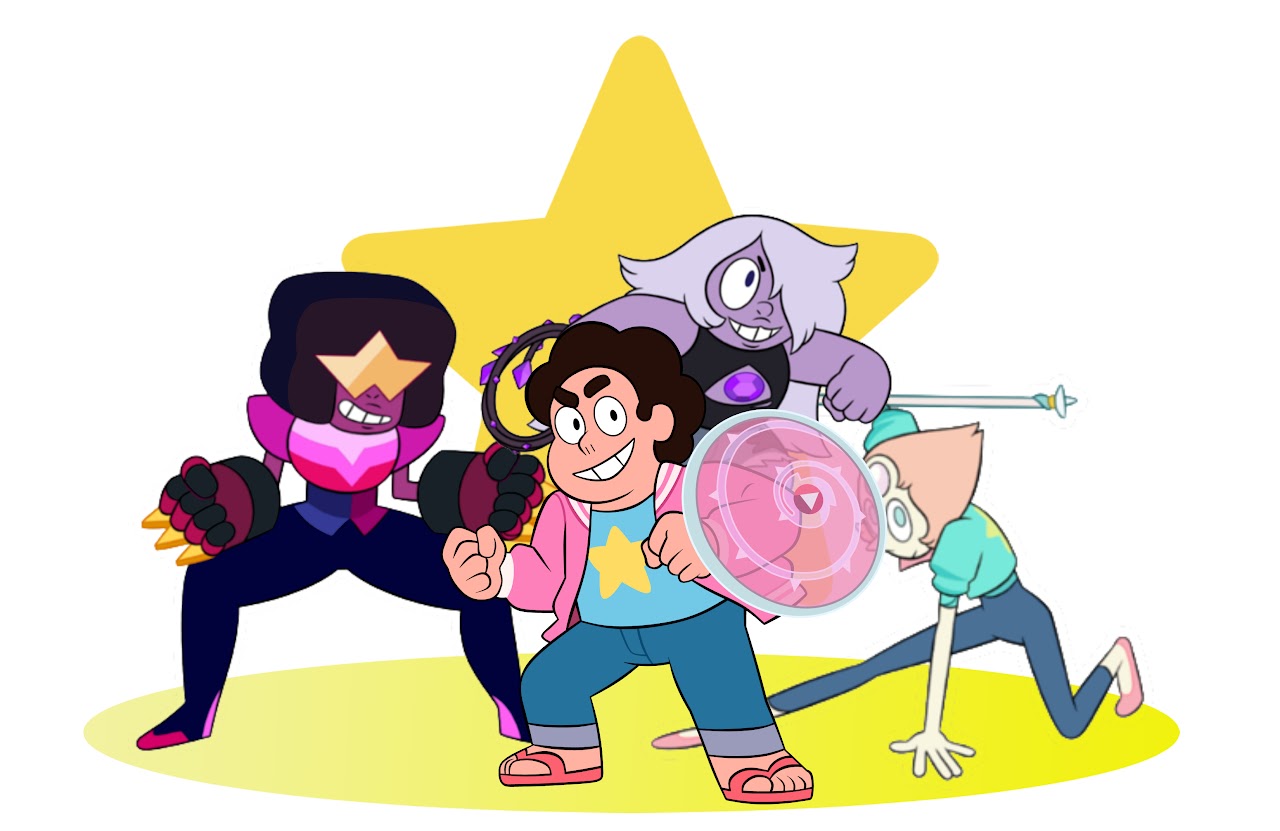
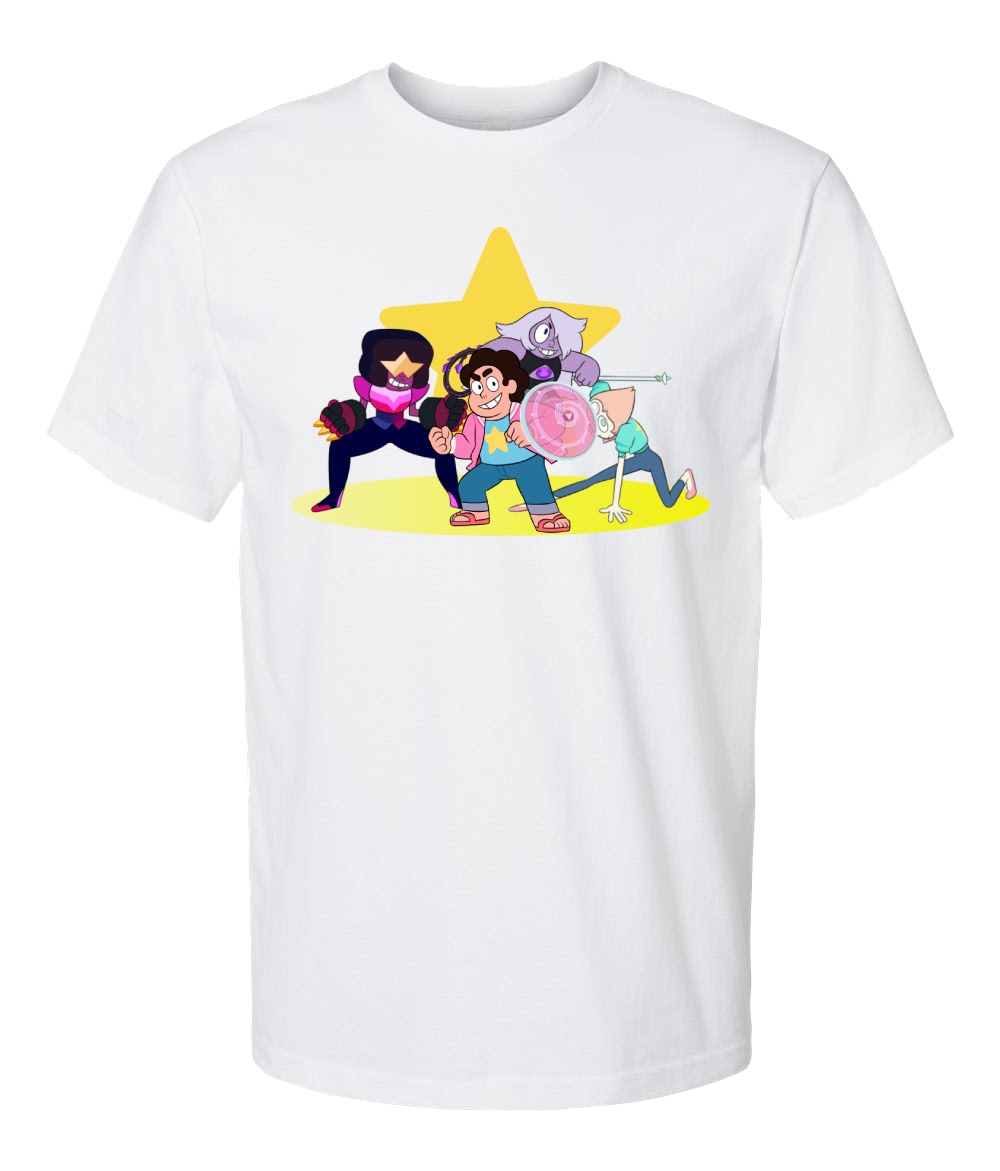
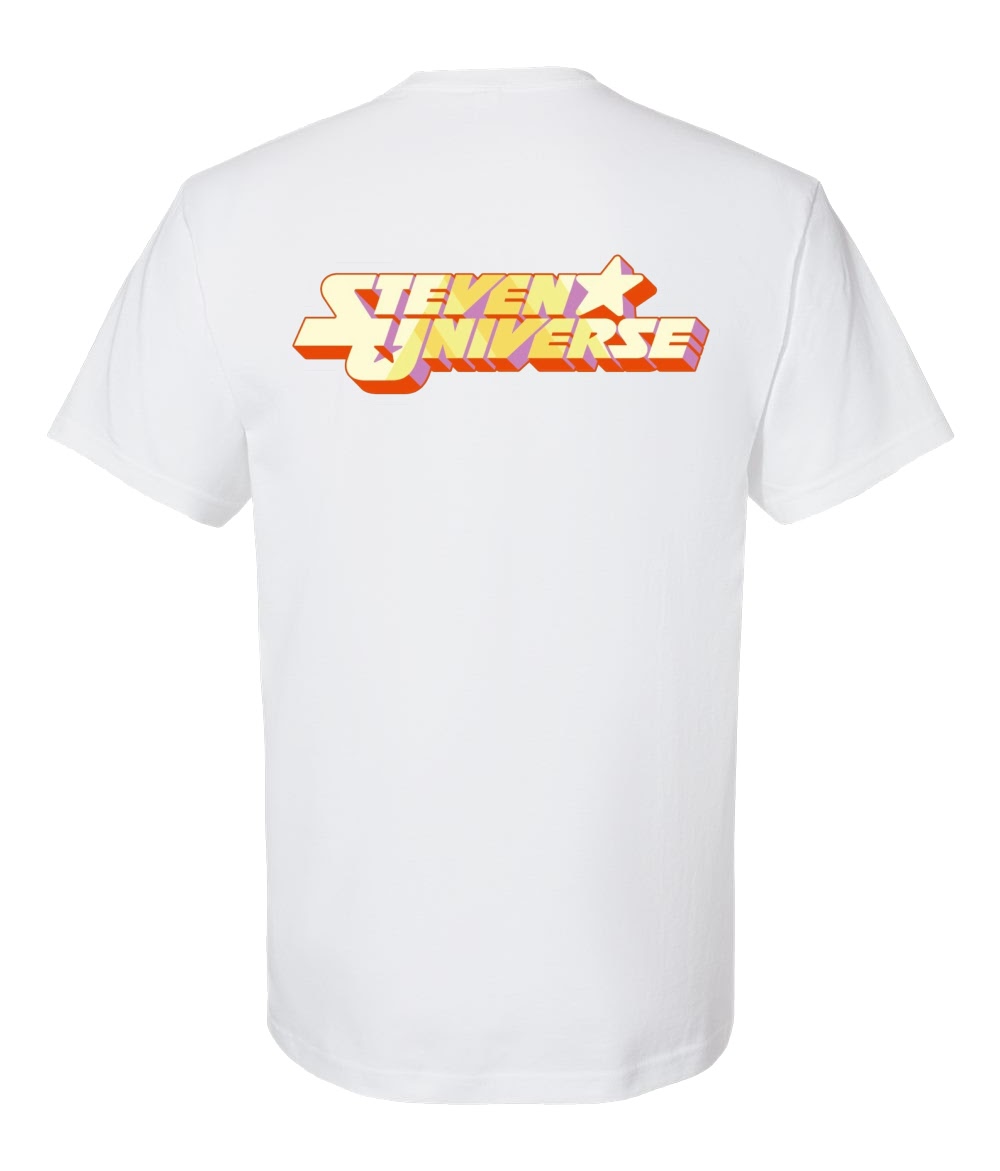
I used assets from my at-the-time favorite animated show, Steven Universe, to make this design. I did a circle gradient underneath the characters, also adding a soft star behind them. With the back design, I just took a logo of the show and removed some extra text.
Heat Transfer Design (on a shirt)
Heat Transfer Design (on a shirt)
Heat Transfer Design (on a shirt)
Heat Transfer Design (on a shirt)
Selective Color (entire image)
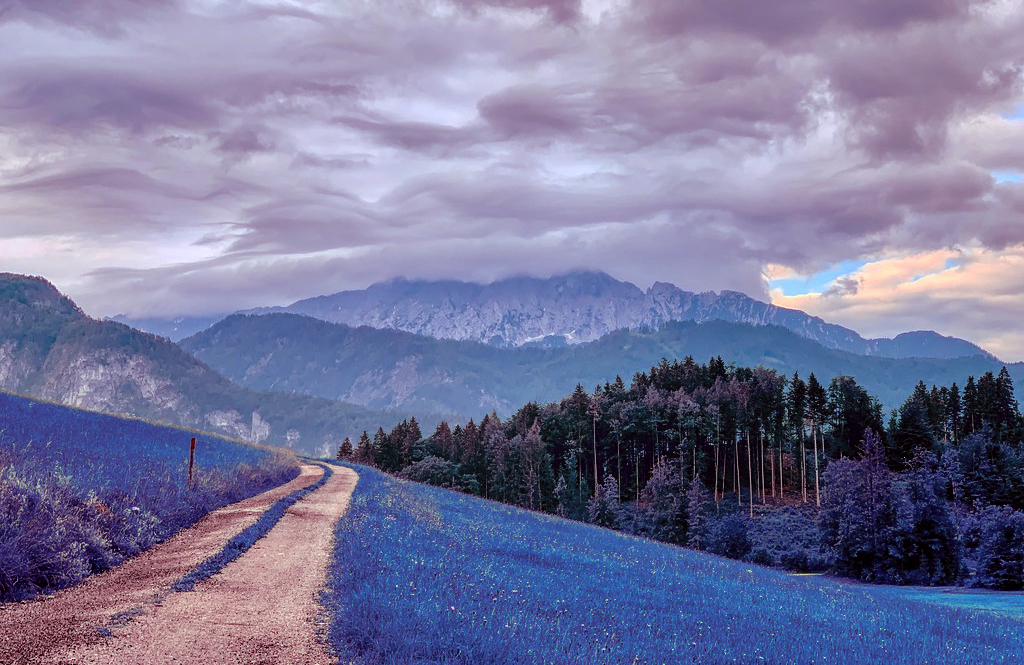
Selective Color (entire image)
Selective Color (entire image)
Selective Color (entire image)
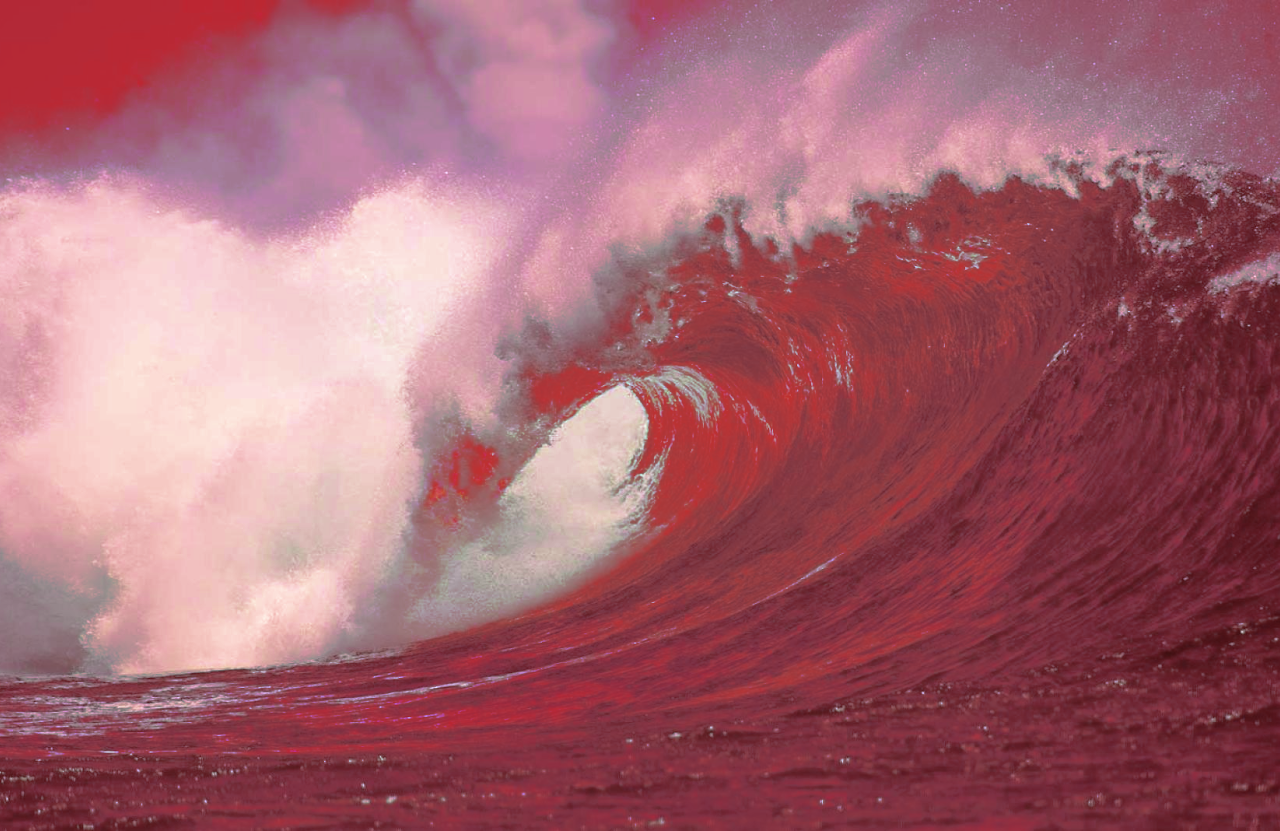
For this form of selective color, I played around with the colors to create new interpretations of these images.
Selective Color (one section)
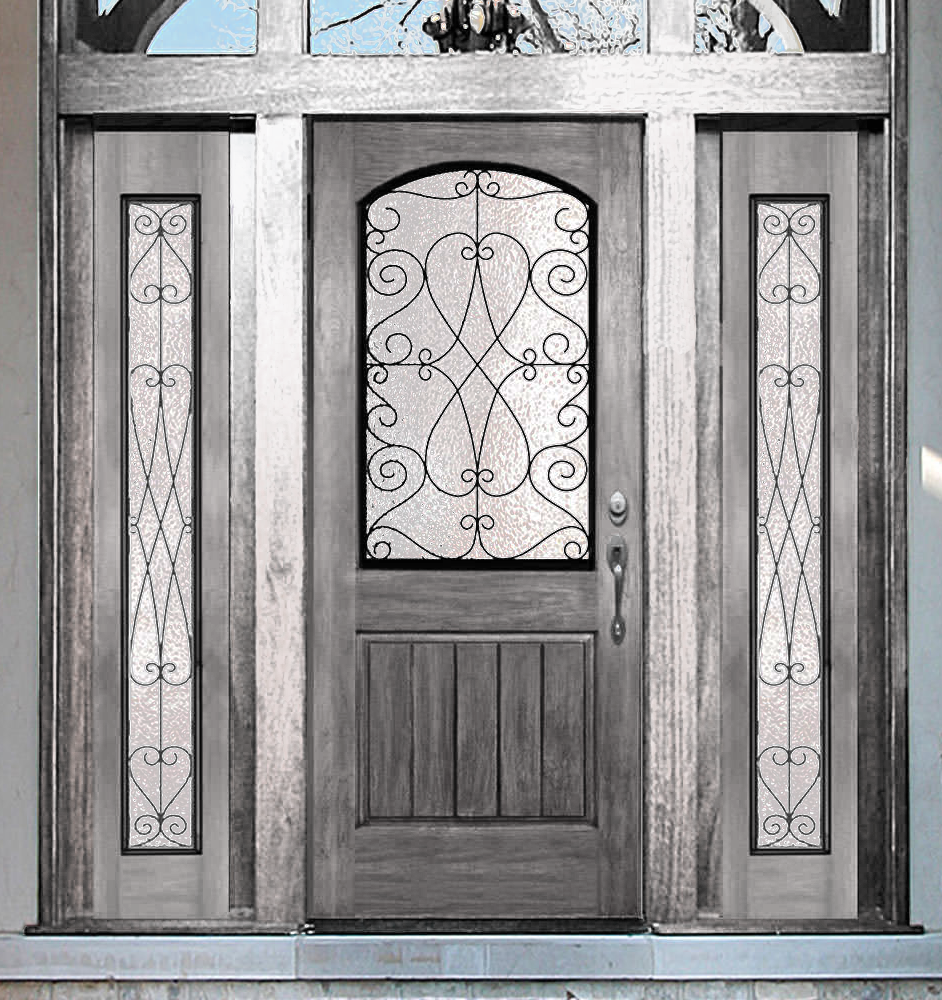
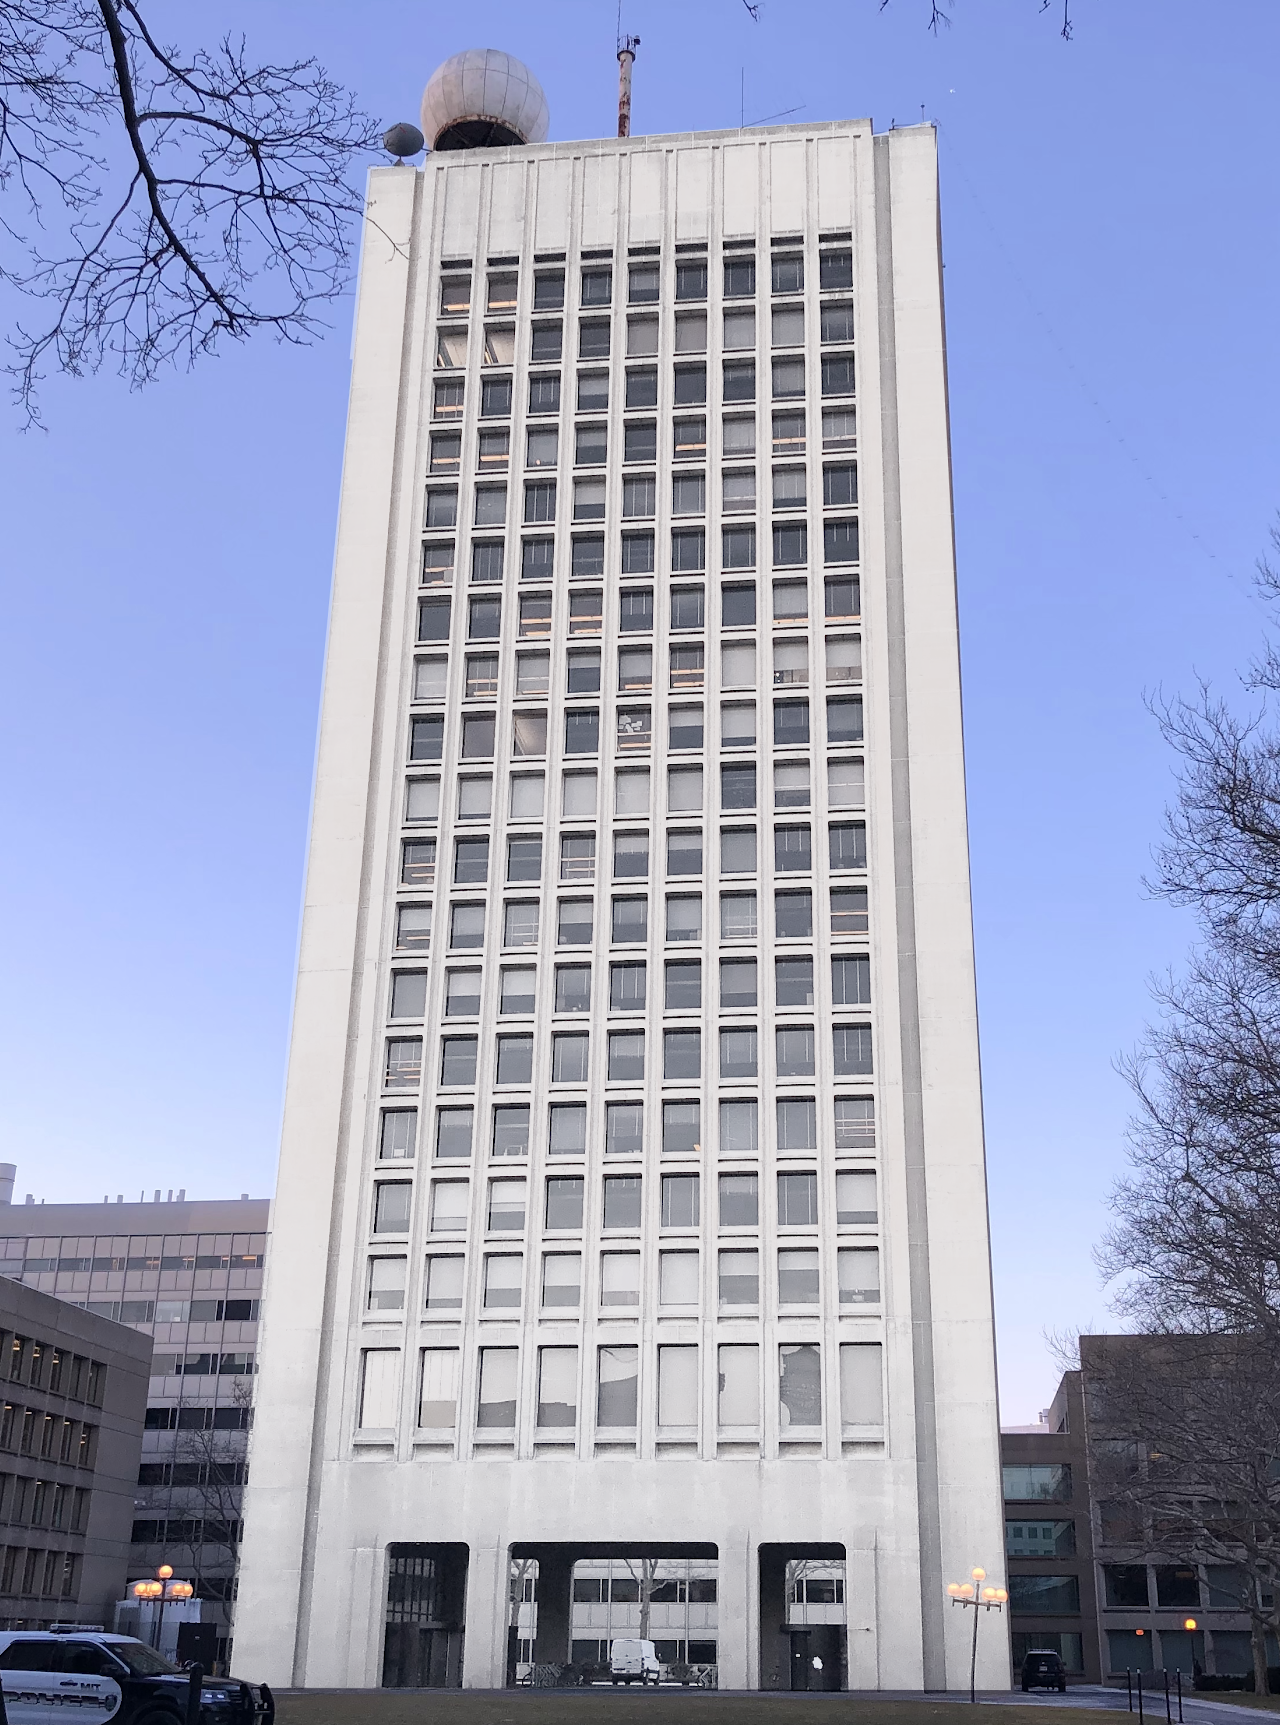
Selective Color (one section)
Selective Color (one section)
Selective Color (one section)
For this form of selective color, I took one section of the image and played around with the colors to create new interpretations of these images.
Color/Saturation Alteration (and Advertisement)
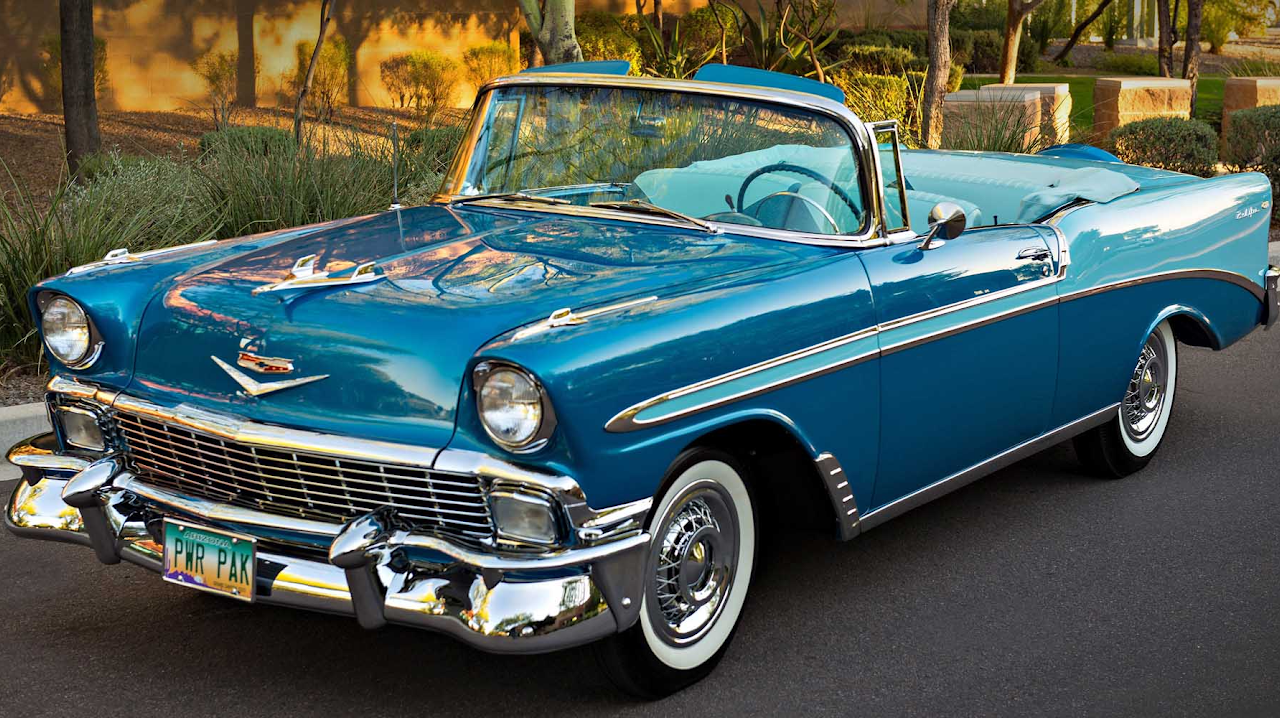
Color/Saturation Alteration (and Advertisement)
Color/Saturation Alteration (and Advertisement)
Color/Saturation Alteration (and Advertisement)
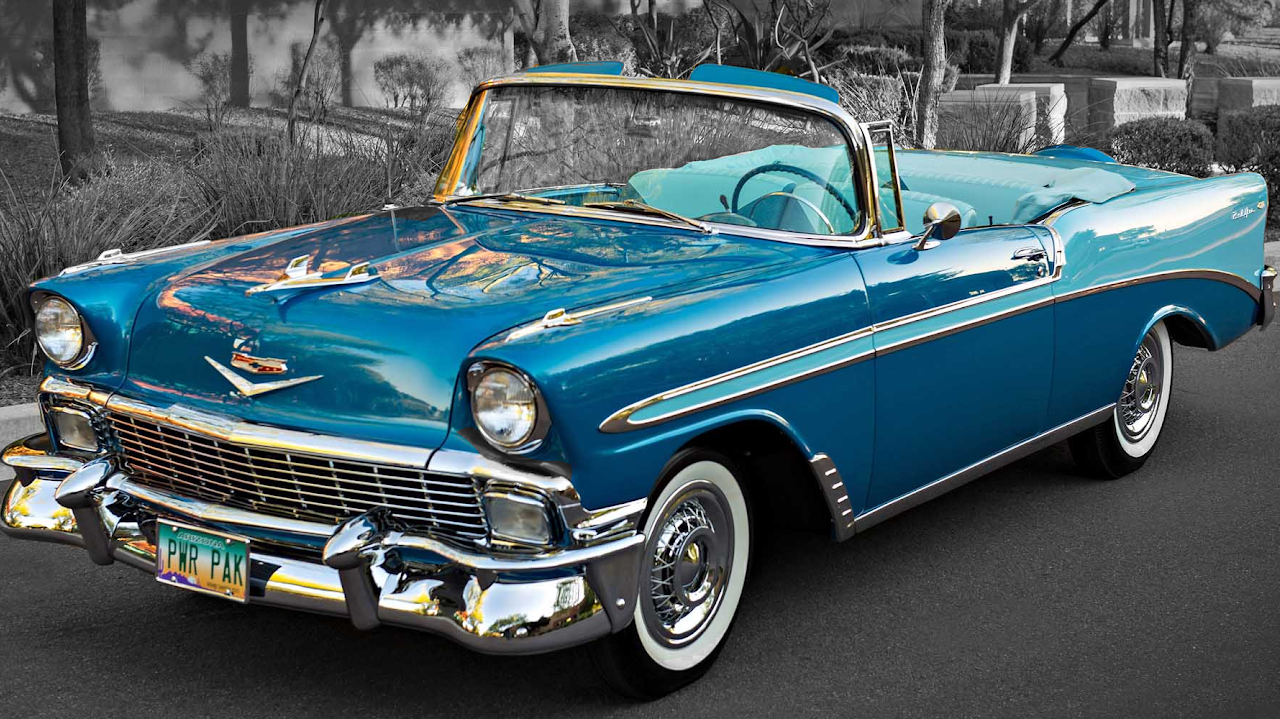
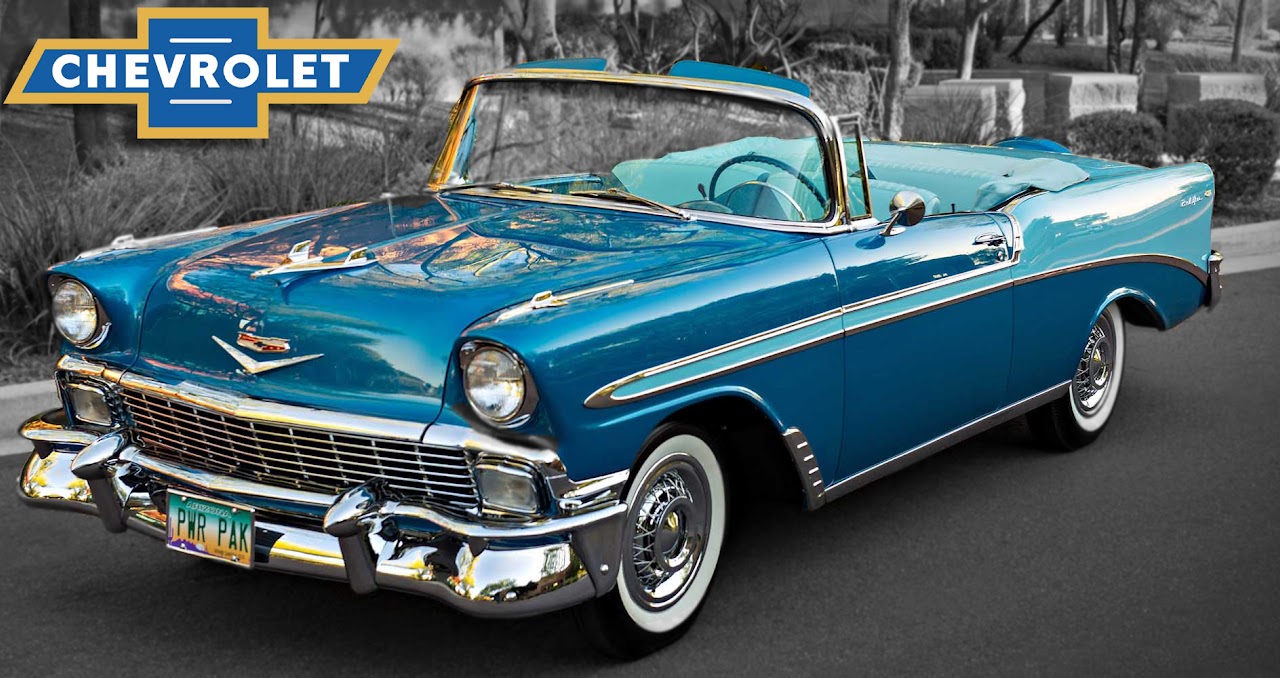
I took an image of a 1956 Chevrolet BelAir Convertible, selected all around the car with the magic wand and the lasso tool, copied and pasted it into a new layer, and the background was turned black and white. After that, for the advertisement, I put the 1940-1950's logo at the top left of the image.
Retouched Image
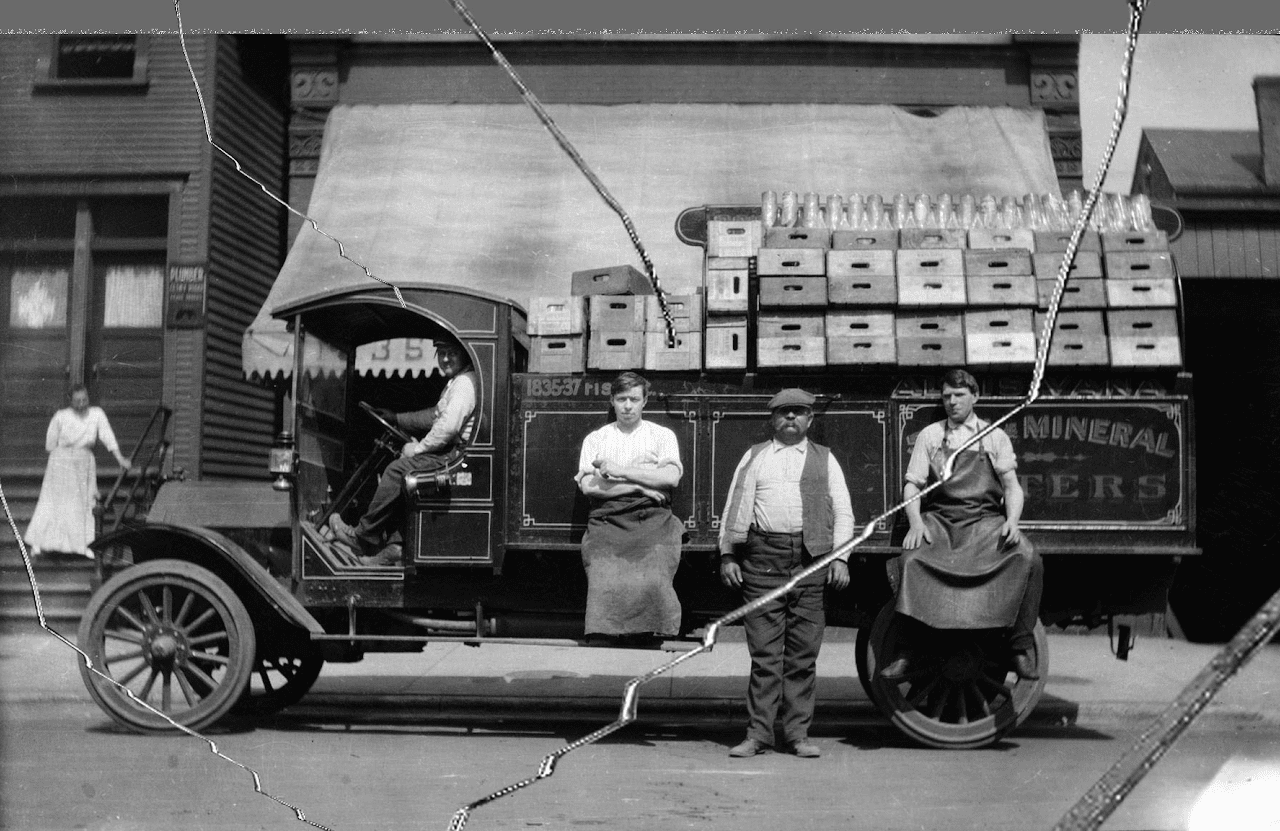
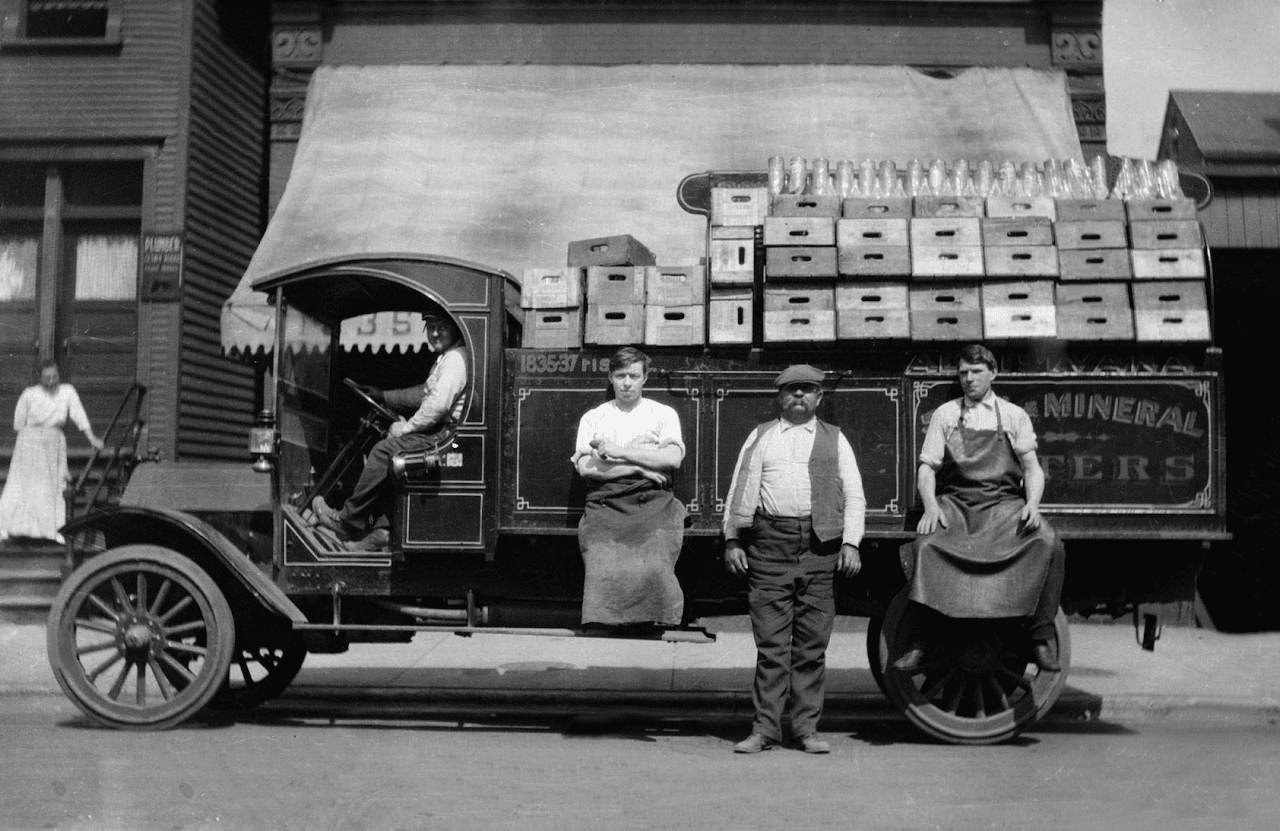
I used the clone stamp to repair spots with scratches and tears. Then I used the crop tool to cut off the top, as that whole section was unrecoverable.
Layer Mask
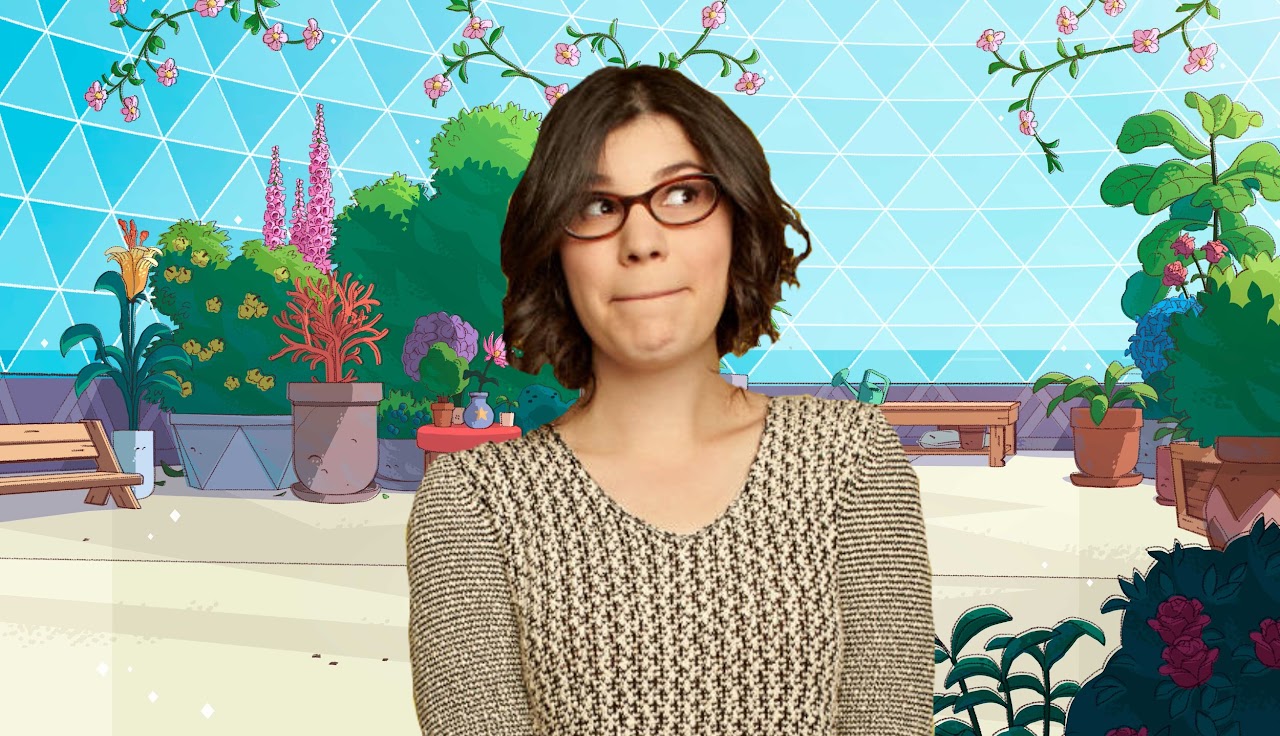
I created a layer mask featuring the creator of Steven Universe, Rebecca Sugar, by using the layer mask tool, then, I took the layer mask and pasted it over a background from Steven Universe Future.
Layer Mask
I created a layer mask featuring the creator of Steven Universe, Rebecca Sugar, by using the layer mask tool, then, I took the layer mask and pasted it over a background from Steven Universe Future.
Layer Mask
I created a layer mask featuring the creator of Steven Universe, Rebecca Sugar, by using the layer mask tool, then, I took the layer mask and pasted it over a background from Steven Universe Future.
Layer Mask
I created a layer mask featuring the creator of Steven Universe, Rebecca Sugar, by using the layer mask tool, then, I took the layer mask and pasted it over a background from Steven Universe Future.
Layer Blending Mode
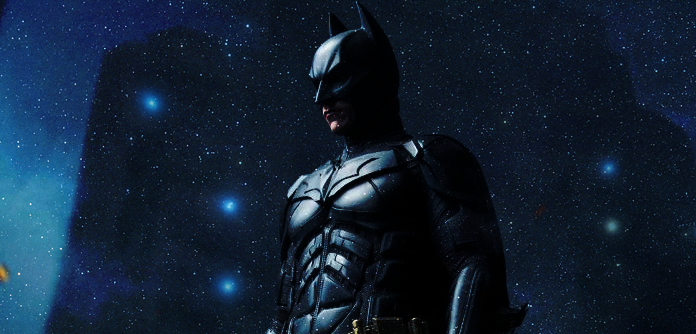
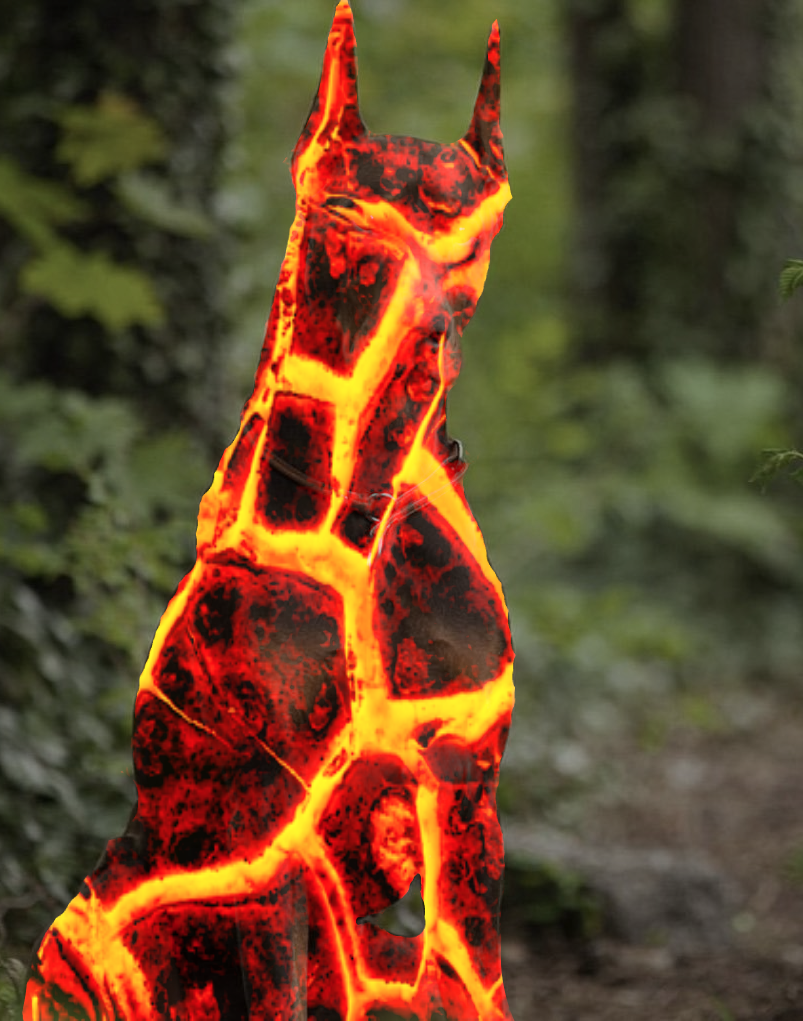
With both images, I overlayed a texture with blending modes and used the eraser on the magma texture to make it only go over the doberman in image 2.
Layer Blending Mode
With both images, I overlayed a texture with blending modes and used the eraser on the magma texture to make it only go over the doberman in image 2.
Layer Blending Mode
With both images, I overlayed a texture with blending modes and used the eraser on the magma texture to make it only go over the doberman in image 2.
Layer Blending Mode
With both images, I overlayed a texture with blending modes and used the eraser on the magma texture to make it only go over the doberman in image 2.
Adjustment Layer
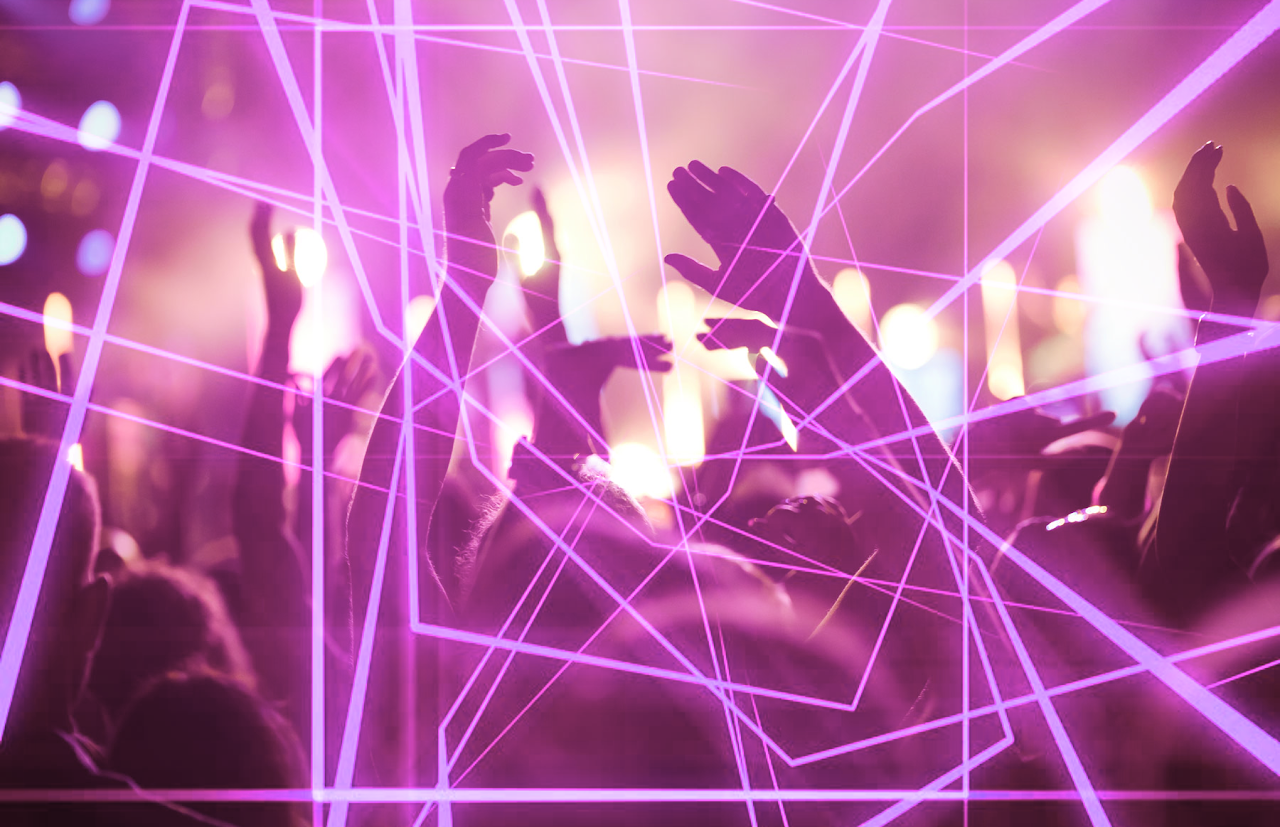
I overlayed a laser texture and played around with hue and saturation on top of an image of a concert to amplify the environment.
Adjustment Layer
I overlayed a laser texture and played around with hue and saturation on top of an image of a concert to amplify the environment.
Adjustment Layer
I overlayed a laser texture and played around with hue and saturation on top of an image of a concert to amplify the environment.
Adjustment Layer
I overlayed a laser texture and played around with hue and saturation on top of an image of a concert to amplify the environment.
Custom Text with Image
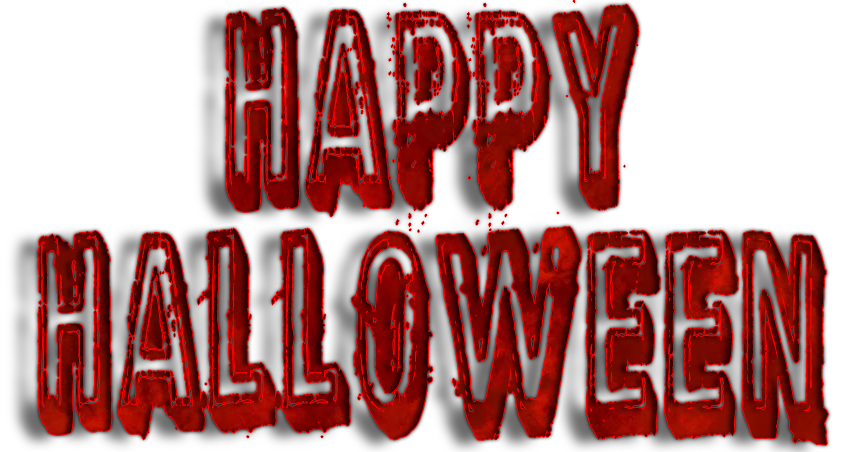
I used a text font, overlayed an image on top of it and added a stroke to add more dimension to the text.
Custom Text with Image
I used a text font, overlayed an image on top of it and added a stroke to add more dimension to the text.
Custom Text with Image
I used a text font, overlayed an image on top of it and added a stroke to add more dimension to the text.
Custom Text with Image
I used a text font, overlayed an image on top of it and added a stroke to add more dimension to the text.
Fanmade Poster
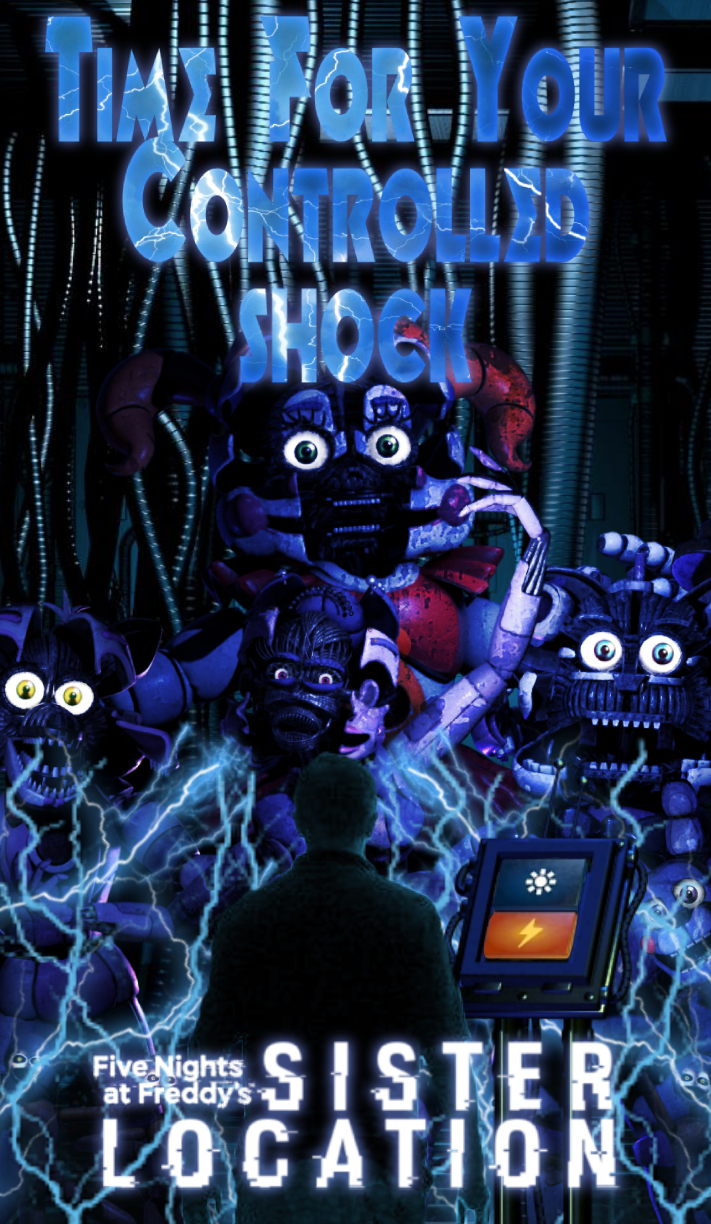
Fanmade Poster
Fanmade Poster
Fanmade Poster
For this project, I used texture images to give the animatronics more texture, a layer mask for the human in the image, layer blending mode for a majority of assets in this image, adjustment layers to alter some of the assets' hues, a clipping mask, text with an overlayed texture, and a variety of layer styles to amplify the text.
Intro to Art Software
(College)
Collage Images
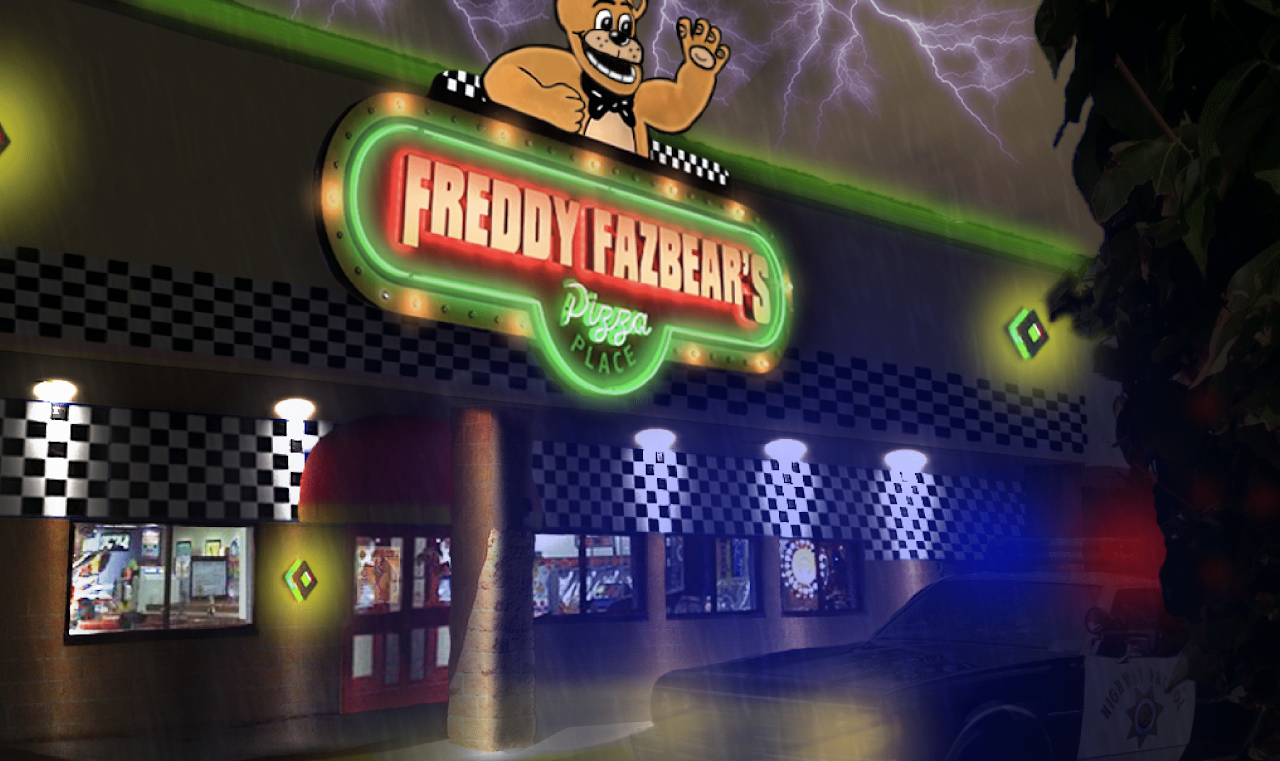
For this project, I used multiple images from various Chuck E. Cheese's locations and the Freddy Fazbear's Pizza Place sign from the Five Nights at Freddy's movie (2023), including extras like lightning strikes, a cop car, and so on. I used a variety of blending modes, adjusting hues & saturations, and so on to make this location look as real as possible.
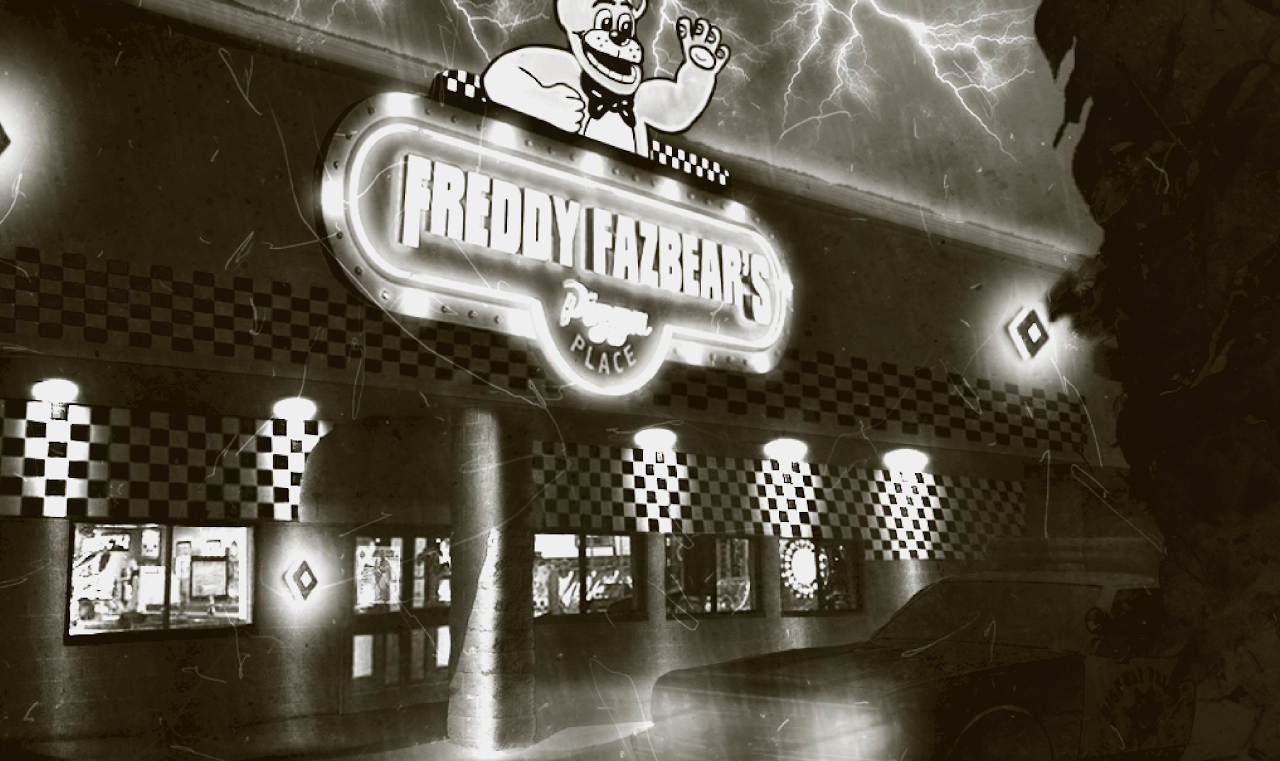
Here, I took the final product and applied a couple filters to make the image appear as old, plus making the image grayscale without drowning out any of the actual details.